Connecting iCal Channels with Sympl
While iCal connections are more limited in the amount of transmittable data and speed than API connections, they're still an extremely valuable asset to channel managers. An API connection is always preferred, but there are a number of OTAs and other listing platforms which only offer iCal connectivity.
There's also various external apps and usages for iCal data that you're likely to encounter at some point. Finally, there's also the fact that any brand new listing platforms for which Sympl has not acquired API connectivity with yet will most likely offer an iCal connection that can be set up by the user immediately in the meantime.
The most ideal connection involves two-way communication - read on below to learn how to set up both importing and exporting of iCal data.
iCal Connection - Export
- Find the "CHANNELS" drop-down in the main menu bar at the top of your Sympl dashboard.
- Click the drop-down and select "ICAL CHANNELS" from the list.

- You will see a list of existing iCal connections on the left-hand side of the iCal Channels page. Just above that, you will see a circular blue "+" symbol button. Click that to open the drop-down menu.

- Select "Export Calendar" from the drop-down menu. This will open the Calendar Export window.

- Click the "Channel" list drop-down and select the desired listing site from the list (select Unknown if you cannot see the channel you'd like to connect - at a minimum, Sympl provides calendar and availability sync).
- Select the rental whose data you'd like to export. After that, you may click "Export".
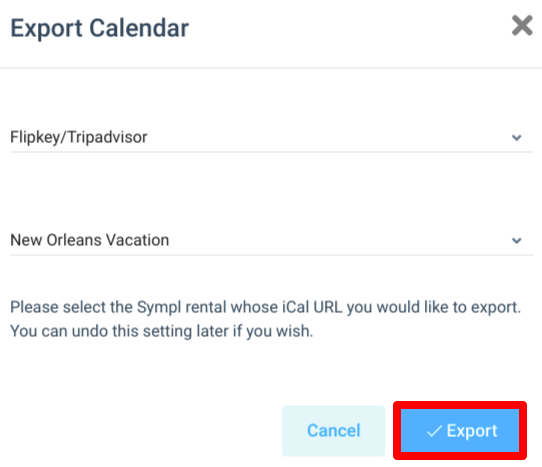
- You will be presented with an iCal URL of your own - copy this URL and bring it to your channel of choice to set up an import procedure with.
iCal Connection - Import
- Find the iCal export URL in the settings menu of the channel you'd like to import data from. Copy the URL.
- Find the "CHANNELS" drop-down in the main menu bar at the top of your Sympl dashboard.
- Click the drop-down and select "ICAL CHANNELS" from the list.

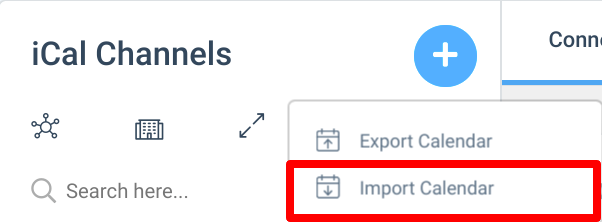
- You will see a list of existing iCal connections on the left-hand side of the iCal Channels page. Just above that, you will see a circular blue "+" symbol button. Click that to open the drop-down menu.

- Select "Import Calendar" from the drop-down menu. This will open the Add Channel Connection window.
- Fill out the required data for your calendar - name, rental, and iCal URL (acquired from source channel in step 1).
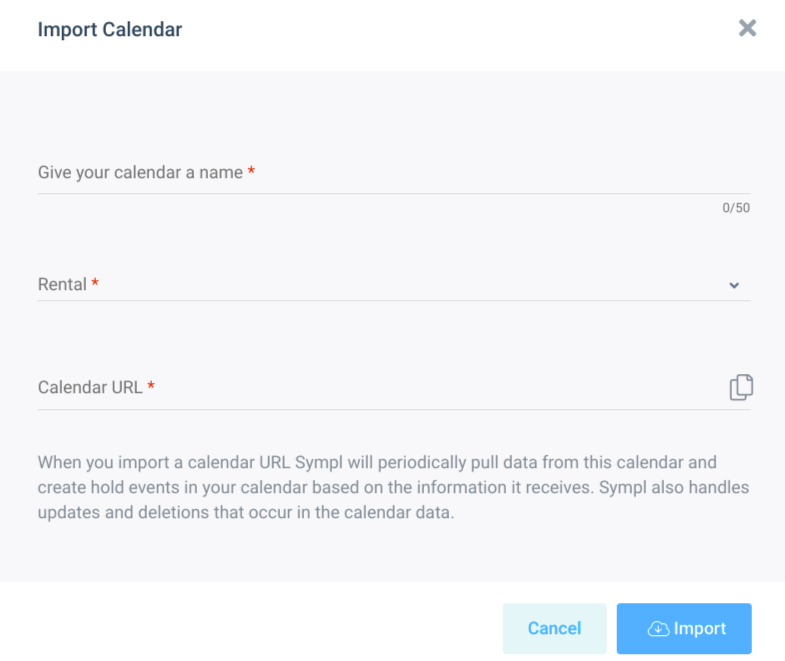
- If your details are correctly filled out, press "Import" to bring all existing data into Sympl and perform synchronizing updates.